Tutorial on installing Uptime Kuma on Baota Panel
1. Foreword
Uptime Kuma is an open-source, self-hosted, and lightweight monitoring tool. Featuring a clean, modern interface and a wide array of notification methods, it allows us to monitor the real-time status of multiple websites and services effortlessly.
Below is a detailed step-by-step guide for installing Uptime Kuma on the BT (Baota) Panel, including important precautions and optimization suggestions:
1. Pre-installation Preparation
Environment Requirements:
BT Panel: Ensure you have the BT Panel installed (the latest version is recommended).
Domain Name: A domain such as
status.yourdomain.compointed to your server's IP address.
Port Configuration:
Ensure that both the BT Panel Firewall and your Cloud Provider's Security Group have opened the following ports:
80 (HTTP)
443 (HTTPS)
3001 (Uptime Kuma's default port)
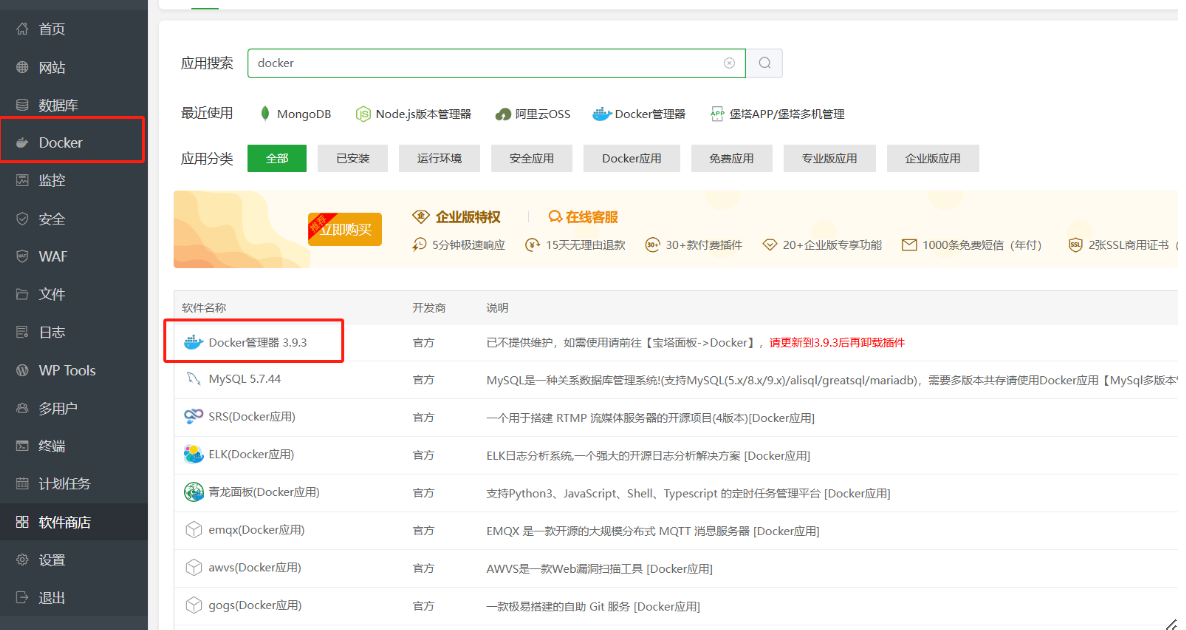
2. Install Docker Manager
Navigate to the App Store within your BT Panel.
Search for "Docker Manager".
Click Install to set it up with one click.
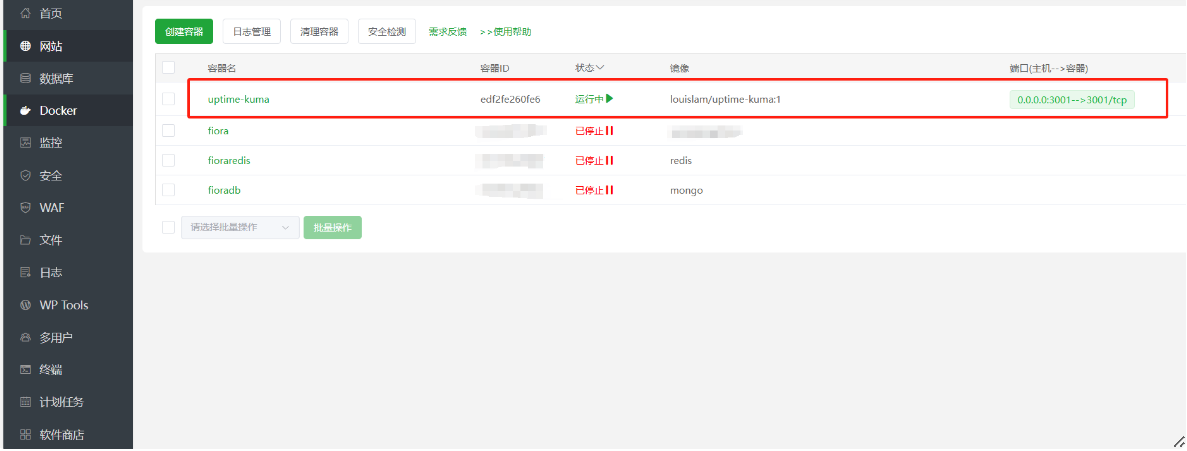
3. Deploying the Uptime Kuma Container Create Data Directory:
mkdir -p /root/uptime-kuma/data  # 持久化存储监控数据
chmod 777 -R /root/uptime-kuma  # 确保容器有写入权限(生产环境建议细化权限)
Start the container:
docker run -d \

  --name uptime-kuma \

  -p 3001:3001 \

  -v /root/uptime-kuma/data:/app/data \

  --restart unless-stopped \

  louislam/uptime-kuma:1
Parameter Descriptions:
-p 3001:3001: Maps port 3001 of the container to port 3001 of the host machine.-v: Mounts the data directory (Volumes) to ensure data persistence and prevent data loss.--restart: Configures the container to automatically restart if it stops unexpectedly.
4. Configure Reverse Proxy
4.1 Add Access Domain
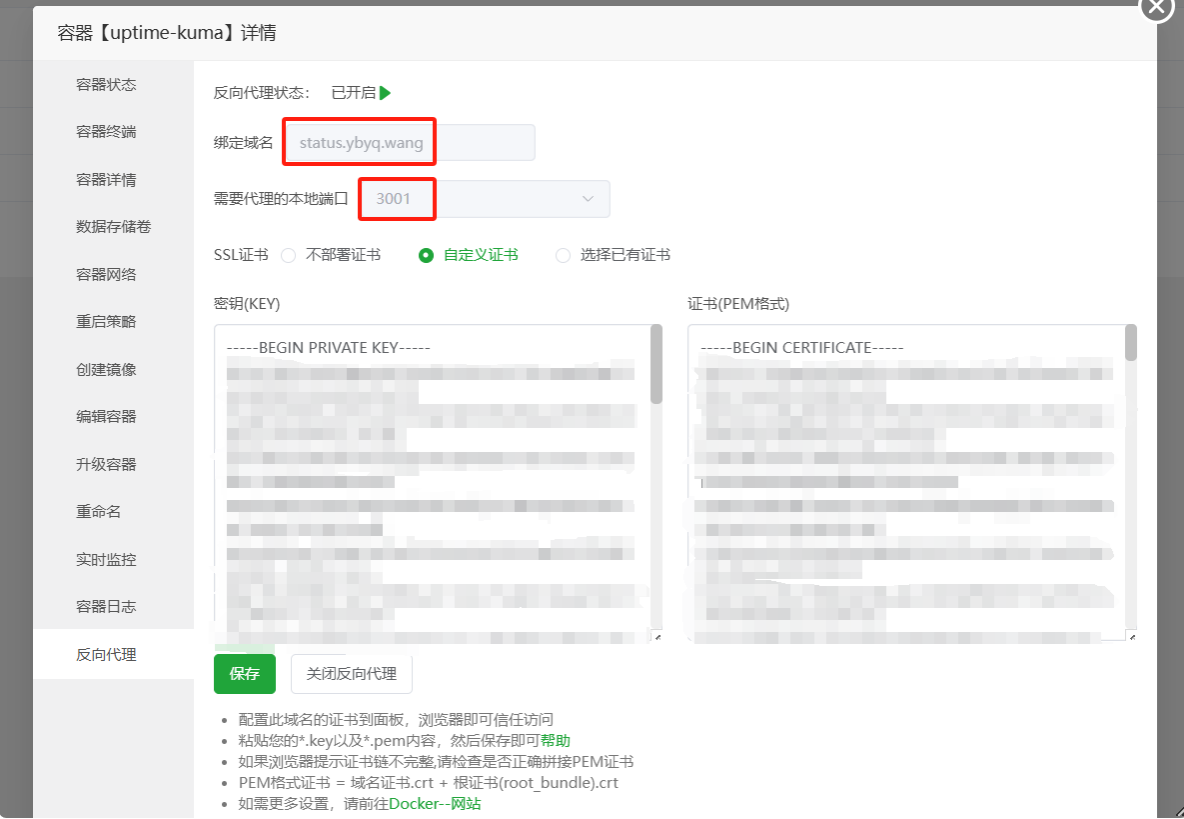
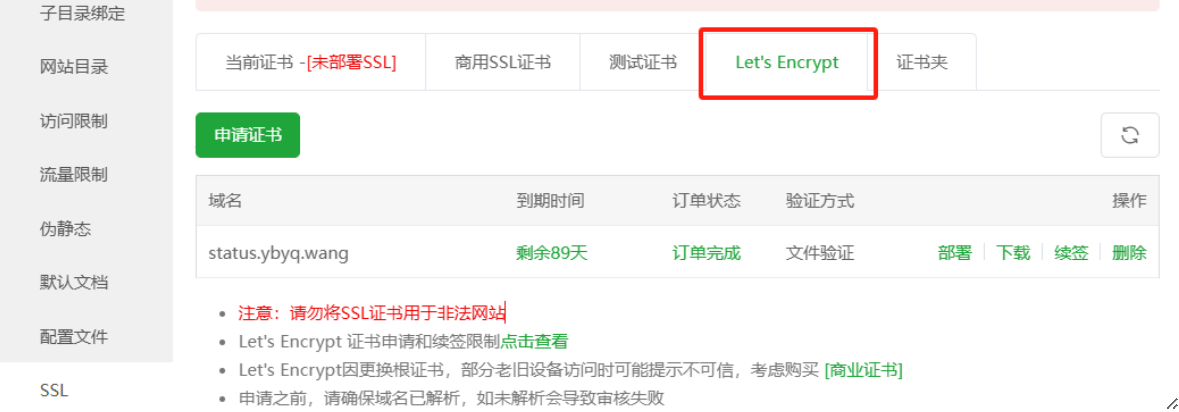
4.2 Configure HTTPS (Optional) Simply apply for a Let's Encrypt certificate directly.
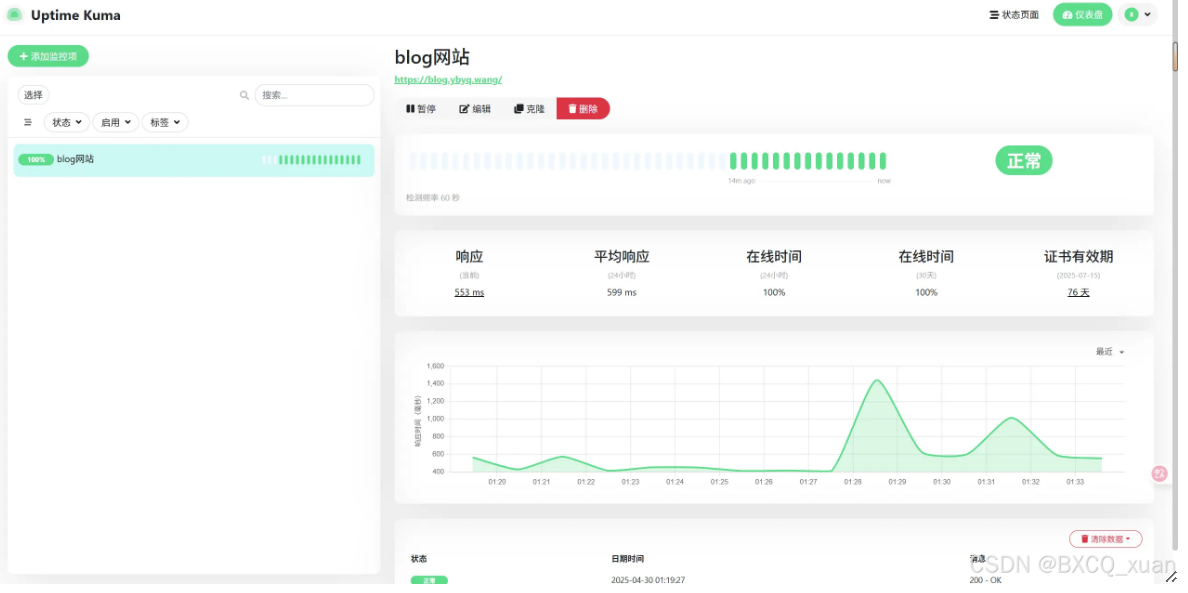
5. Access and Initialization 5.1 Access via Domain: Open https://status.yourdomain.com in your browser and follow the prompts to set up your Admin account and password.
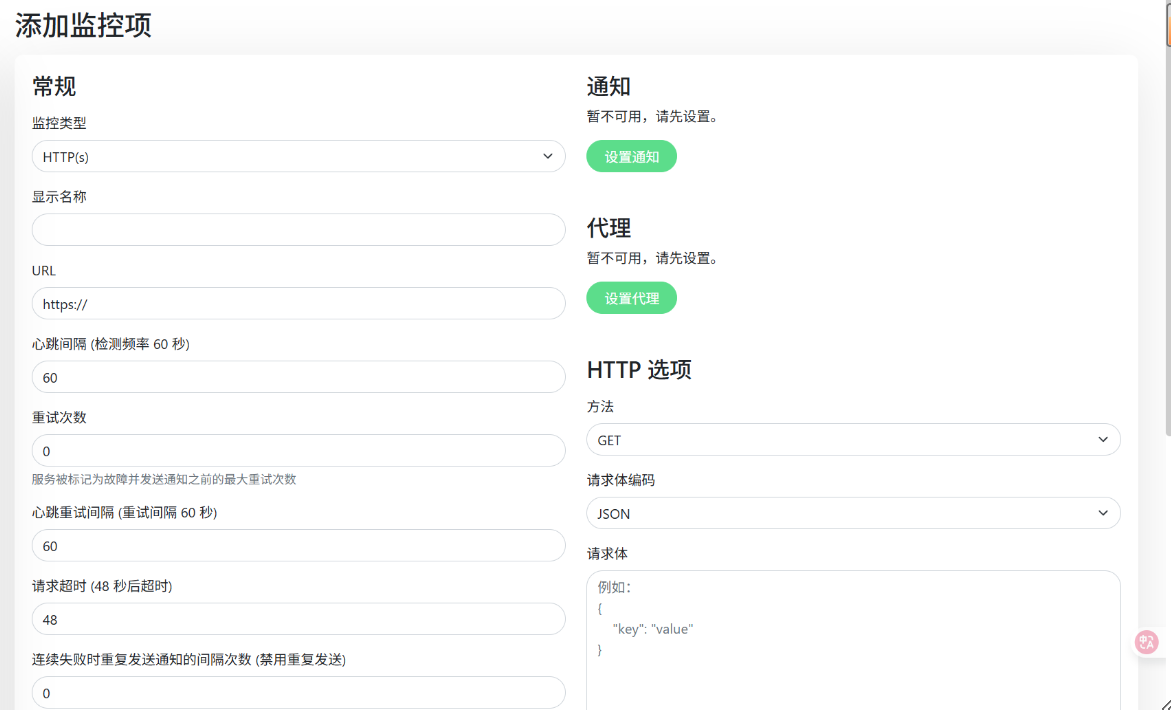
5.2 Add Monitoring Items: Enter the dashboard, click Add New Monitor, and fill in the Service URL and Monitor Type (e.g., HTTP, TCP, etc.).
6. Advanced Configuration (Optional) Enable HTTPS: Go to aaPanel (BT Panel) → Site Settings → SSL. Apply for a Let's Encrypt certificate and enable Force HTTPS.
Firewall Optimization: In your cloud security group, disable public access to port 3001 and restrict access to Localhost (127.0.0.1) only.
Backup and Updates:
Backup: Regularly archive and compress the
/root/uptime-kuma/datadirectory.Update Container:
docker stop uptime-kuma && docker rm uptime-kuma  # 删除旧容器

docker pull louislam/uptime-kuma:1              # 拉取最新镜像

# 重新执行第4步的docker run命令启动新容器
It is recommended to use docker-compose (docker-compose needs to be installed):
Create docker-compose.yml:
version: '3'

services:

  uptime-kuma:

    image: louislam/uptime-kuma:1

    container_name: uptime-kuma

    volumes:

      - /root/uptime-kuma/data:/app/data

    ports:

      - "3001:3001"

    restart: unless-stopped
Start: docker-compose up -d
Update: docker-compose pull && docker-compose up -d
Troubleshooting
Container fails to start: Run
docker logs uptime-kumato check the logs and troubleshoot port conflicts or permission issues.WebSocket connection failure: Ensure that WebSocket support parameters have been added to your reverse proxy configuration.
Data not saving: Check the permissions of the data directory to ensure the container has write access (use
chmod 777as a temporary fix).
Conclusion
By following these steps, you can successfully deploy Uptime Kuma using aaPanel (BT Panel) to achieve comprehensive service monitoring. Regularly backing up your data and updating the container will ensure long-term stability and reliability.